-40%
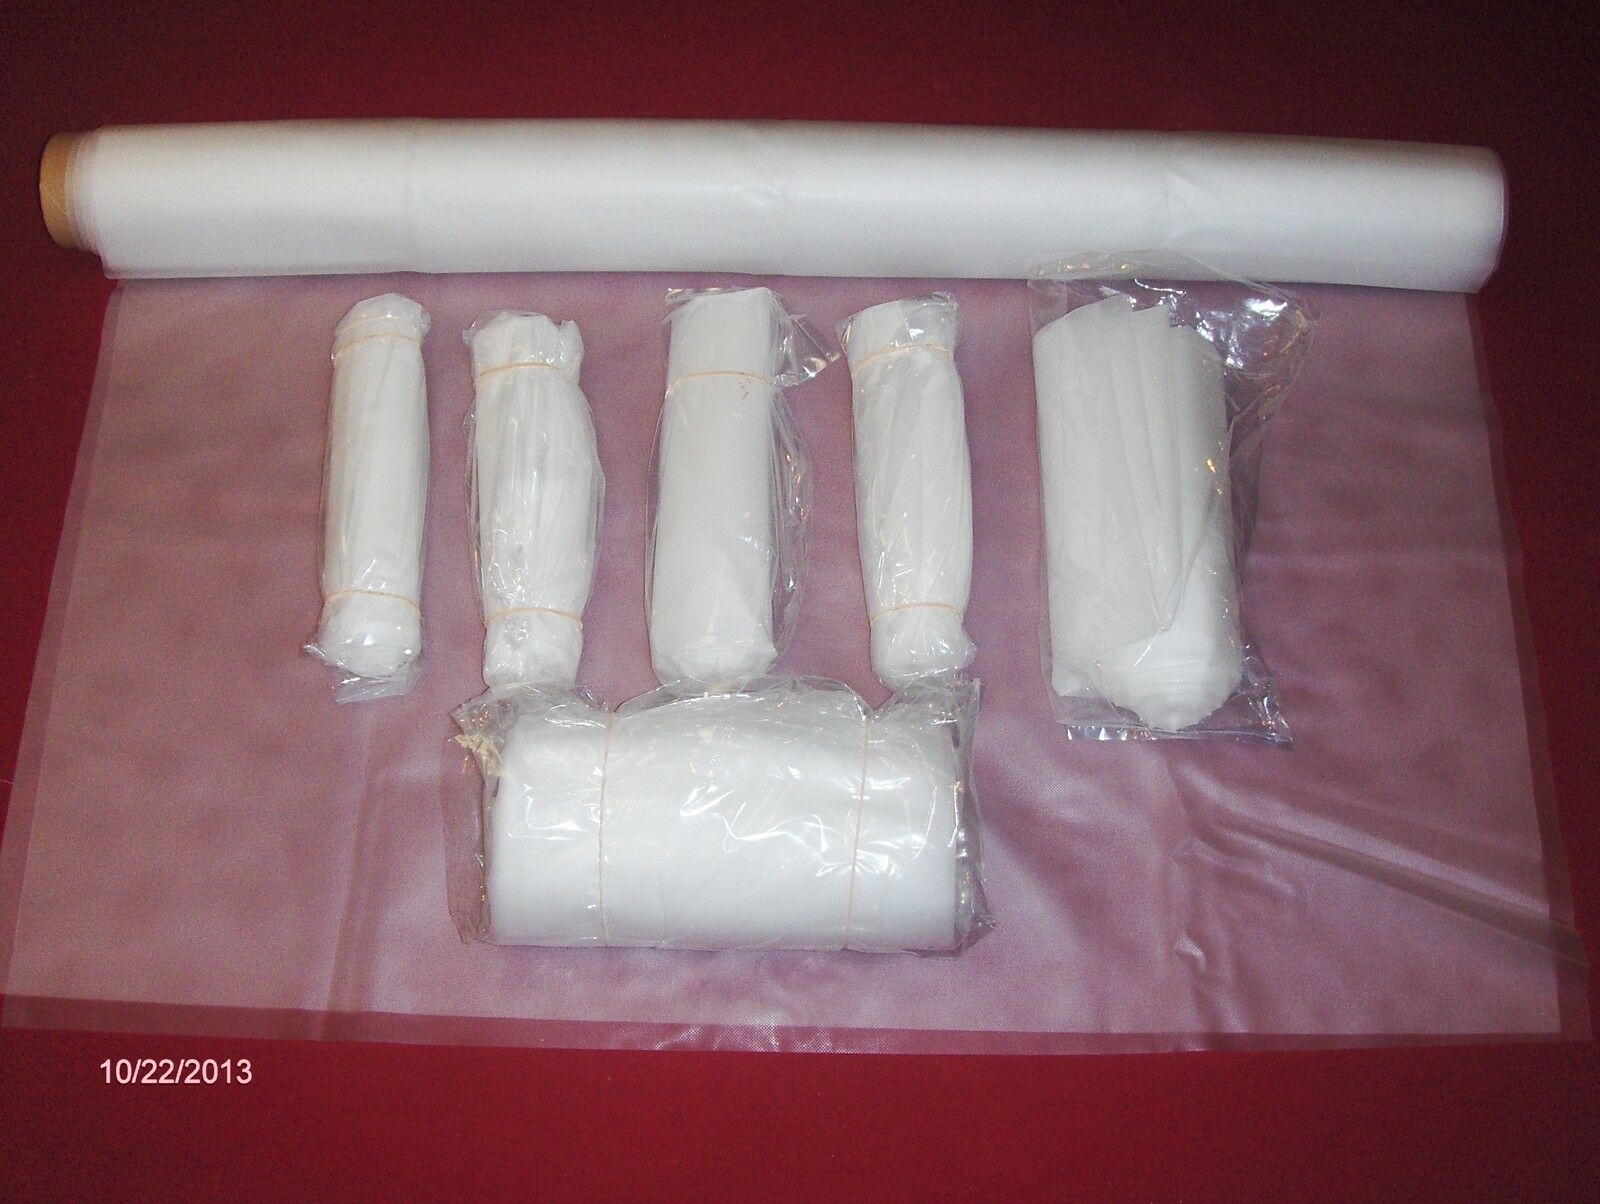
Affordable EVA solar cell solar panel encapsulation diy 1-2 or 4 meter lengths
$ 3.16
- Description
- Size Guide
Description
Finally! Affordable EVA film for the "DIY-ers"I have many new products I will be introducing over the next few weeks.
One of them is this EVA product!
Product Details:
All pieces are 1020 mm( 40 1/8 inches) wi
de
I have pre-cut the lengths of
EVA into 1, 2, 4 METERS
FOR 10 METER LENGTHS SEE MY OTHER AD ON EBAY.
0.4 mm - 0.45 mm thick
The longer the length, the cheaper it is!
EVA is not unlike sheets of hot glue. When heated, the two layers bond and form one layer, encapsulating the solar cells.
Laminate film versus liquid encapsulant:
According to product reviews, people had the most success using a vacuum. If you are not prepared to use a vacuum, it is best to buy the liquid encapsulates. O
vens seem to also work quite well, but can be tricky.
EVA can also be applied using a heat gun and a vacuum.
I sell very inexpensive heat guns in my eBay store (
in the "tools + accessories" isle).
Disclaimers:
Do not use the EVA indoors, as there is a slight risk of toxic fumes.
There is a learning curve when using this product on cells. Practice with spare or broken cells first!
General Instructions for Use (think solar lasagna):
Lay the glass that will be used as the front of your panel down flat.
The glass, at this point, is just being used as a table.
Lay the white Tedlar backing onto the glass.
Place a layer of EVA over the backing.
Place your connected array of cells (blue side up).
Lay the last layer of EVA.
Use whichever suction/heat method you prefer (vacuum, heat gun, oven, etc.).
The Tedlar, EVA, and cells bind together to make a single, laminated sheet.
After cooling, trim off the excess Tedlar and EVA
Flip your laminated sheet and Tedlar over so that the blue side of your cells face the glass.
Frame the glass and laminate.
Tips and Observations from my personal experiments (
The last 4 pictures are from the experiment below
):
If any customers have any hints or suggestions that I can pass on, feel free to send me a message. I would love to have them!
Note: You will see broken cells in my experiment. These pre-tabbed cells were broken and fractured to start with.
I have been researching the temperature and time for the oven technique. It seems that over 200F (nearly 250F) for 7 to 20 minutes works well.
I experimented with not using any vacuum. I found this to create too many air pockets.
Experiment #1:
I used one meter of the EVA, scrap Tedlar, and a 12 x 16 window glass from the hardware store.
Laid the glass down on a couple pieces of scrap u-channel, just to elevate it
Laid the Tedlar down, making sure the roll numbers were facing the glass. This ensures you will attach the EVA to the correct side of the Tedlar.
Laid the EVA down (smooth side up)
Placed 4 (broken) 6x6 cells,
facing blue side up
Folded the extra EVA back over the top of the cells
Took a heat gun (the one I sell in my store) and heated up the three sides, starting at the crease where the EVA was folded over itself.
Heated up the two adjacent sides, sealing them. I had plenty of extra EVA on the top( 2 inches from cells) and even more on the two sides ( 6 inches).I sealed the two sides about 3 inches from the cells all the way to the loose end. You know you are sealing two pieces of EVA when it changes color from semi transparent to a darker transparent.
I hooked up my vacuum (a shop vac with a smaller pipe then going even smaller with a piece of fish tank air tubing). I had the end of the air tubing stop about 1 inch from the cells, in the middle of the piece of EVA. At this point the tubing was in-between the two layers of EVA.
Sealing the last side:
Slowly work from the sealed sides toward the tubing, I stayed about 1 inch away from the tubing until I sealed either side of this last edge.
Melted the EVA around the tubing to have a good seal.
Starting as far away from the cells as the EVA was, I worked toward the cells, heating on either side of the vacuum tube. Try to get your seal as far away from the end of the vacuum tube, so it does not distort the shape of the tube. I found applying a little heat at a time allowed the EVA to melt around the vacuum tube without over heating.
YOU MUST LET IT COOL DOWN or the soft EVA at the tip of the vacuum tube will just suck a hole in the EVA (I know from experience...). If this happens, you can patch a hole in EVA just by cutting a piece, laying it over the hole, and reheating it. It all melts together.
Once cool, I turned on the vacuum and watched the EVA shrink around the cells. If you get small lines of gathered EVA, don't worry about it-it will melt flat.
Starting at the farthest point from the vacuum, I went back and forth with the heat gun. You will see the color change on the surface of the cells to a darker transparent; this is how you know it is working. Don't worry about overheating the cells, just make sure you applied enough heat to melt the lower sheet of EVA to the back of the cells and to the Tedlar.
Experiment #2:
My second attempt was similar to Experiment #1. I would call my second attempt a 75% success. The first two cells have a perfect seal! However, as I got 1/2 way through heating the second two cells, the Tedlar buckled and the vacuum did not hold the two layers together tightly.
The back of the Tedlar looks great; each cell has a defined outline. I was very impressed!
My conclusion:
Experiment
a few times without using the cells you just put together for your panel. Do not take a chance with them; you have too much time and money invested! Instead, experiment with broken cells, cardboard, some pictures, or any other thin, flat material. The cost of the wasted EVA is nothing compared to ruining your good cells.
Buy extra EVA to run the experiments versus having to buy new cells.
It took me 3 attempts before I started to really get the hang of it .
